Table of Contents
Introduction
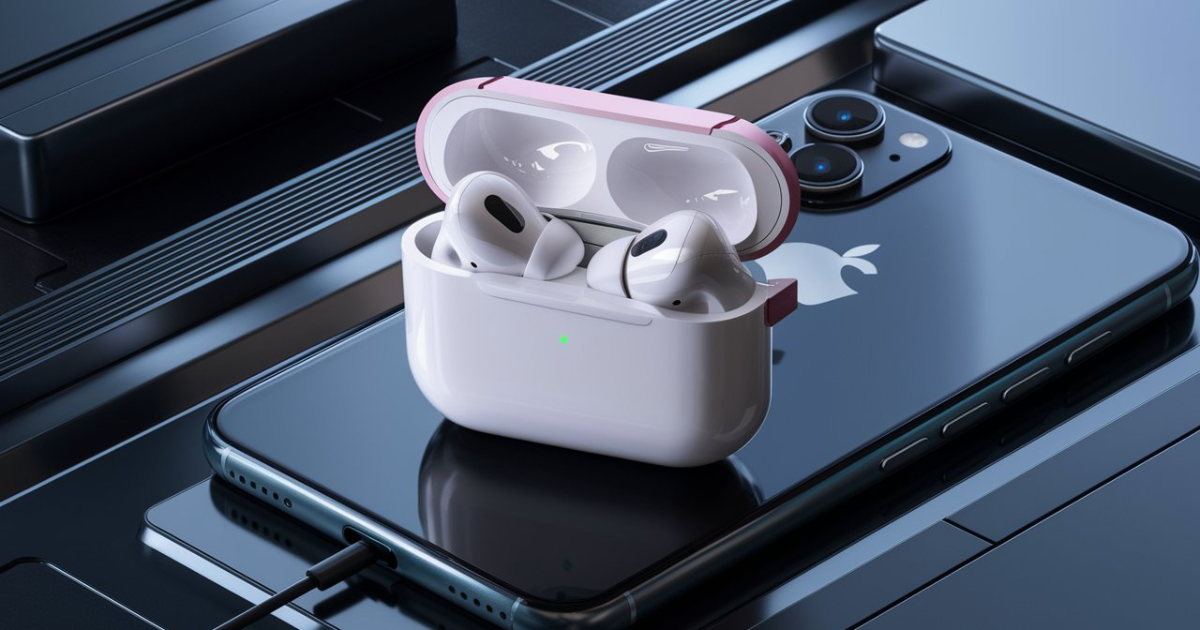
While other details are yet to be disclosed, Apple meanwhile added that the AirPods Pro 2nd generation and what could be its successor set of earbuds will have even more advanced features designed for improved listening quality as well as increased user experience. They deliver premium sound quality with seamless connectivity and a variety of smart features.
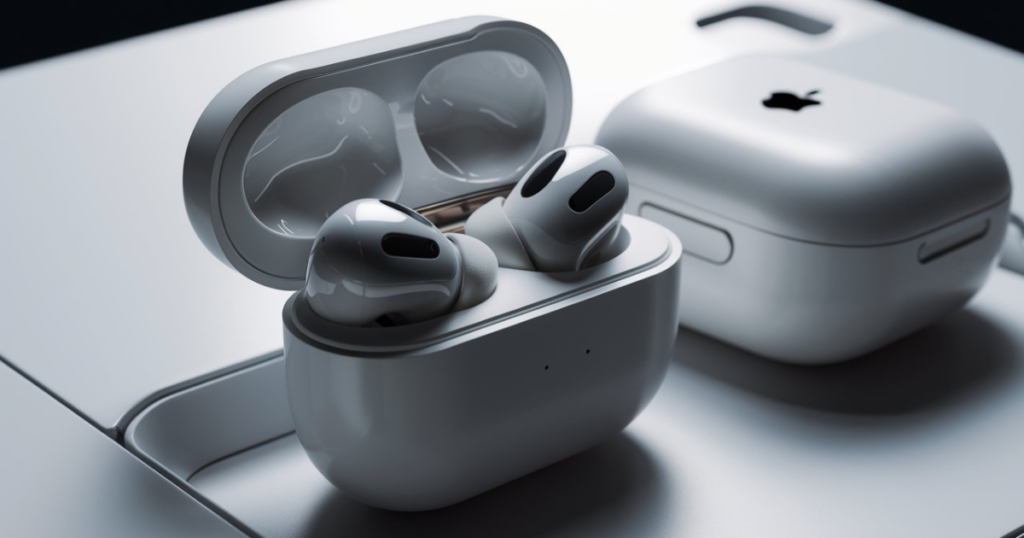
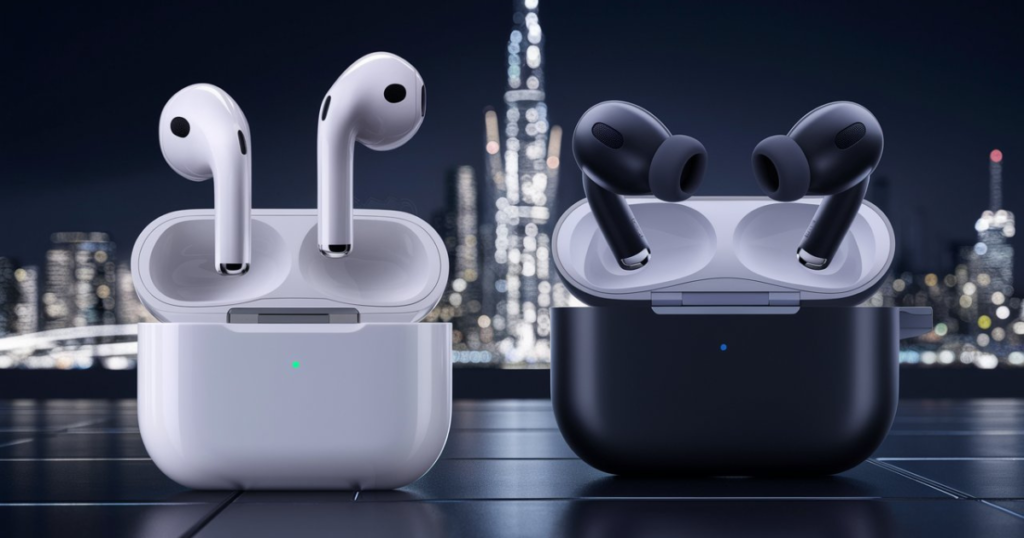
Design and Comfort
2nd Generation:
- Has a stylish in-ear design and replaceable silicone tips.
- Provides a close fit for added comfort over long wear.
3rd Generation:
Follows an in-ear tip design but new ergonomic fit.
More options for tips means better adaptability and comfort.
Audio Quality
- Adaptive EQ: Automatically tunes music to fit the shape of your ear for a personalized and consistent listening experience.
- Spatial Audio: Dynamic head tracking to give a theater-like sound.
- Low-Deformation Drivers: To produce distortion-free low end for cleaner, more robust bass output.
Battery Life and Charging
Battery Life: Both get up to 6 hours of listening time on a single charge.
Charging Case:
2nd Generation: Adds wireless charging and up to 24 hours of usage.
3rd Generation: wireless charging compatible with MagSafe = up to an additional 30 hours.
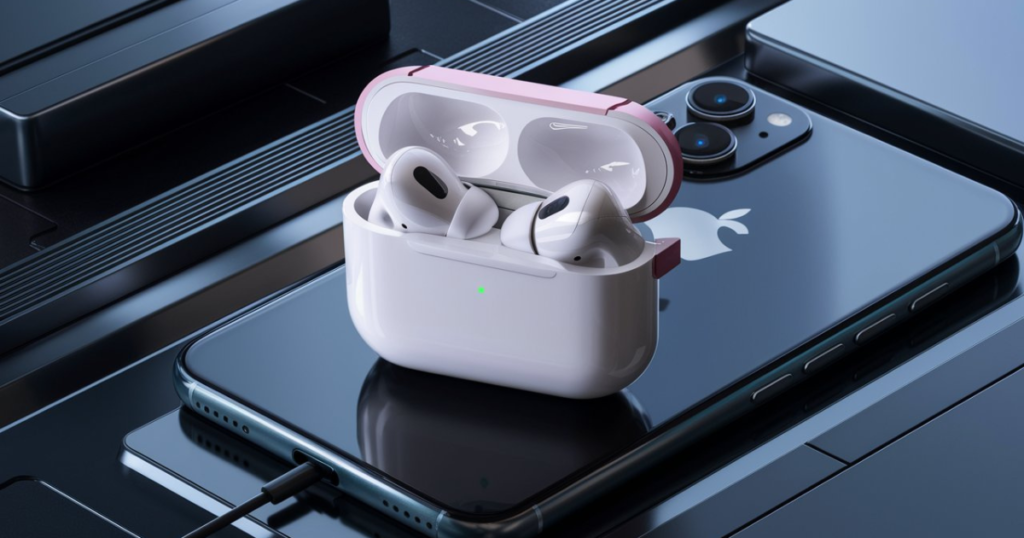
How to Turn On AirPods Pro 2nd and 3rd Generation?
Follow Step by Step Guide
- Take the AirPods Pro out of their packaging and box Check that everything is included in the box – charging case, AirPods, and documentation.
Ensure They Are Charged:
- Put the AirPods Pro in their charging case.
- Charge the Charging Case either with a Lightning cable or wirelessly via Qi (if you have a wireless charging case).
- Let the AirPods fully charge the LED will be amber when charging, and green once it is fully charged.
Open the Charging Case:
- Turn on the charging case, then place it near your iPhone or device you want to connect with.
Place the AirPods in your ear, and open up the flap of its charging case.
Automatic Activation:
- Lid opening to set the AirPods Pro into pairing mode.
- Your iPhone will display a setup animation. Touch “Connect” to link AirPods Pro on the device
- Complete any other on-screen installation steps like setting up “Hey Siri” if you want stores.
Manual activation
- Press and hold the setup button on the back of the charging case until you see a white LED.
- Open For Bluetooth settings on your device tap AirPods Pro in the available devices list
Confirm the Connection:
- You will see a prompt on your device and it should say that the AirPods Pro are connected.
- Begin listening with your AirPods Pro as soon as you put them in your ears.
Audio Source Setup:
Select the audio device of your choice from there. Settings > Bluetooth, select the AirPods Pro, and make adjustments if you want
Voice Control:
Uses (Voice command ‘Hey Siri’ if available) Tweak the voice and sound through the settings menu available on your device.
If you follow these steps carefully, then the all-new AirPods Pro will no longer fail to turn on or establish connections with your devices for a smooth audio listening experience.
How to Use AirPods Pro 2nd Generation with Android
Turn on Bluetooth on Android Device
- Go to the settings option on an Android device.
- Tap on “Bluetooth” and ensure that it is enabled.
Set Up AirPods Pro
- Put both AirPods Pro in the charging case.
- Lift the cover of the charging case.
- At the back of your case, press & hold the setup button until the LED lights start blinking white.
Connect via Bluetooth
- Search available devices on the Android device and open Bluetooth->Bluetooth settings.
- Choose ”AirPods Pro” from the list of available devices.
- Confirm pairing if prompted.
Setting up AirPods Pro with an Android device
Rename AirPods
- Now on your Android phone, go to Bluetooth settings.
- Locate “AirPods Pro” in the list of connected devices and click on this.
Change the device name to what you would like it to be, in my case, I need something that distinguishes Macbooks from other devices as we have around 3000 devices of which about half are laptops.
Adjust Volume
- Control the AirPods volume with the Android device’s native volume buttons or a connected media app.
Using Features of AirPods Pro
ANC (Active Noise Cancellation) & Transparency Model
- By doing so the user can switch between modes on AirPods by tapping to hold one of the active stems.
- Or you can set the ANC settings via third-party apps such as “Assistant Trigger.”
Control Music Playback
- Tap twice or press the stock to play, pause, forward songs, and accept/reject calls.
Note: There are restrictions in features such as automatic ear detection, and spatial audio is not available on Android devices without third-party applications.
How to Use Use AirPods Pro 2nd Generation with iPhone
To Use Airpod Pro 2nd Generation with iPhone, follow these steps
Ensure iPhone Compatibility:
- Make sure your iPhone is running at least iOS 13.2 Open up Settings > General > Software Update to cross-reference. Download the update if any.
Charge Your AirPods Pro:
- Return the AirPods Pro to their charging case and make sure that the case has some battery. If needed – Charge using the included Lightning to USB-C cable.
Prepare for Pairing:
- Take the AirPods Pro without missing out on wearing it off their charging case.
- Keep the case near your iPhone. An animation should then appear on the iPhone screen for setup.
Pairing with iPhone:
Just follow the instructions on the screen If prompted, tap on Connect.
You may need to hold the setup button on the back of its charging case if you are connecting for the first time.
Customize Settings:
- If so, open Settings from your iPhone home screen and select Bluetooth.
- Press the “ℹ” nearby to your AirPods Pro in that menu.
- Tailoring the Noise Control, Transparency Mode, and Use of Press-and-Hold.
Connect AirPods Pro With iPhone
- Listen to Audio with Press and Hold To skip the next track, press the force sensor on the stem of the right earbud three times Music Space -Broadcast music space. Resume or pause audio.
- Double tap for the next and triple tap for the previous.
- Volume control (can use Siri, “Hey Siri – raise the volume” or adjust manually on your iPhone).
Managing Noise Control Modes:
- Then swipe down from the top-right corner of your iPhone to open up Control Centre (i.e., see below).
- Press and hold the volume slider to display additional controls for Noise Cancellation or Transparency Mode.
- Or, you can use Settings to change the mode with a Press and Hold function.
Using Siri:
- Make sure Siri is turned on by opening Settings and tapping the magician hat at the top of your screen.
- Activate Siri using “Hey Siri” or by pressing and holding the force sensor for tasks like sending a message, playing music, or getting directions
Locate Missing AirPods:
- Find My App to Locate Lost AirPods. The way to use this is by opening the Find My app on your iPhone and selecting AirPods from your available devices Then, see where they are located.
Firmware Updates:
- Make sure AirPods Are Up-to-date Put them in the charging case, and connect to your iPhone Automatic updates when is iPhone close
By using these step-by-step instructions, users could get the most out of their AirPods Pro 2nd Generation when they pair it with an iPhone.
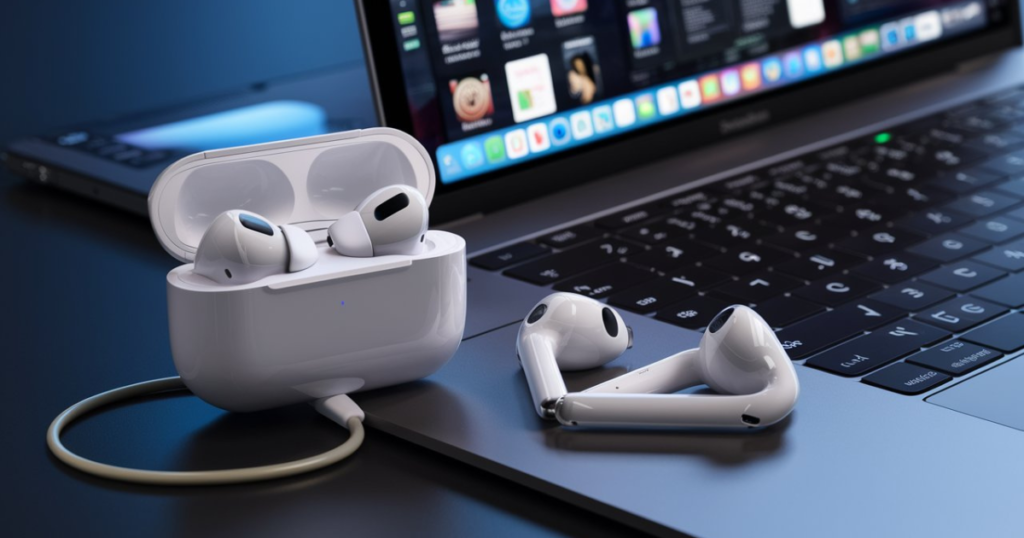
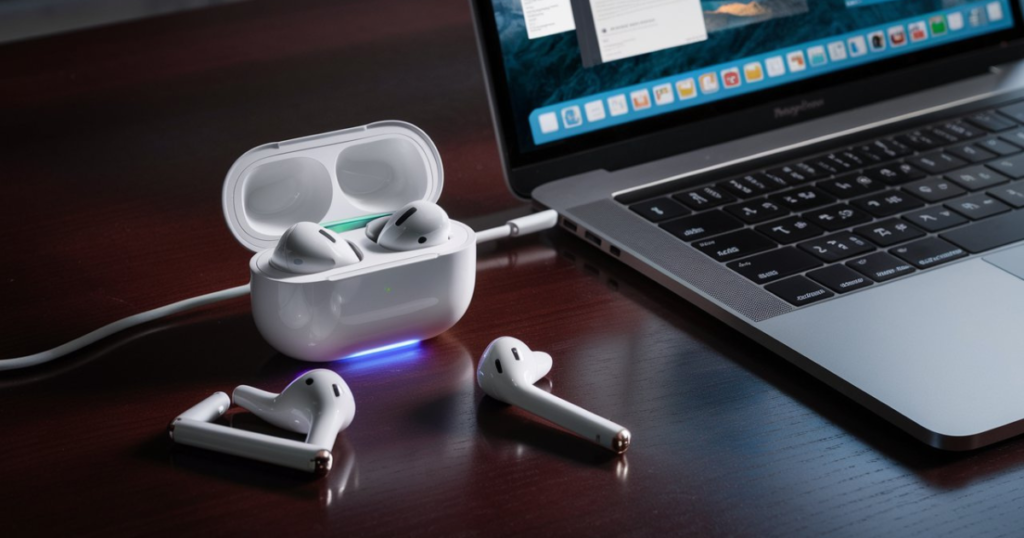
How to Connect AirPods Pro 2nd Generation with Laptop

In this article, we show you how to connect and use them with a laptop.
Ensure Bluetooth is Enabled
Windows:
- Open the Start Menu and navigate to Settings.
- Choose Devices and after that Bluetooth & other devices.
- Tap the switch next to Bluetooth.
Mac:
Next, do the Apple menu -> System Preferences.
Tap on Bluetooth and ensure that the On/Off toggle is switched from Off to On.
Connecting AirPods Pro to the Laptop
- We will be starting with the AirPods Pro, as they are a little easier to force into that pairing mode.
- The AirPods Pro must be in the case.
- Just open the case but keep AirPods in it.
- Press the button on the back of your case and keep holding it until you see a white LED flash.
Connect on Windows:
- Then, you should see Add Bluetooth or other device on the left side of the window under Bluetooth & other devices.
- Next, Click on Bluetooth and then wait for the laptop to recognize your AirPods Pro.
- Then from the range of devices click on AirPods Pro.
- It only should be downloaded once you have the connection confirmation.
Connect on Mac:
- Within the Bluetooth menu, search for AirPods Pro among available devices.
- Select AirPods Pro > Connect.
- It might take a while but you should receive confirmation that the connection was successful.
Configuring Sound Settings
Windows:
- Click the volume icon in your Windows 10 taskbar and click on Sounds to be taken back into the essence of Windows settings.
- Tap on AirPods Pro under Output.
Mac:
Open System Preferences and select Sound.
Click the Output tab and select AirPods Pro.
Following these steps should allow users to easily pair and use their AirPods Pro 2nd Generation with their laptop, thereby improving the audio experience for all.
How to set up AirPods Pro (3rd Generation)
Here’s how you can do it when preparing AirPods (3rd generation):
All Devices Need to be Updated
- Update your iPhone/iPad: Make sure that the device is on the newest version of iOS or iPadOS.
- Charge AirPods: Ensure that your AirPods have either full or at least some charge before you start.
Go to the Settings and open Bluetooth
- Access Settings: Launch the ‘Settings’ app on your iPhone or iPad.
- Turn On Bluetooth: Visit ‘Bluetooth’ and Activate it.
Connect AirPods
- Open the Lid: Opening just allows the iPhone or iPad to take nearby AirPods inside the charging case.
- Enabling the Wait Animation: If this setup animation does not appear on your iPhone/iPad.sendRedirect.
- Press the ‘Connect’ button on the animation Screen.
- Follow the on-screen instructions to finish.
Check the connection
- Go to Bluetooth Settings: Go back to the ‘Settings‘ once again and now open “Bluetooth”.
- Check Connection: See if it shows in the list of devices connected to your AirPod.
Adjust Settings
- customize your AirPods settings: Press the ‘I’ button next to your AirPods in Bluetooth Settings.
- Customization Options: Customize settings including microphone options, ear detection, and tap gestures.
How to Use AirPods Pro 3rd Generation with Android

AirPods Pro 3 compatible with Android These work best with Apple devices and also have a great fit with Android. Here is how you can take…
Ensure Bluetooth is On
- Open Settings on the Android Device.
- Go to the Bluetooth agenda.
- Enable Bluetooth if it is not already on.
Prepare AirPods for Pairing
- Take out the AirPods Pro charging case lid.
- Hold the button on the back of the case until you see a flashing white LED.
- This means the AirPods are in pairing mode.
Pair the Devices
- Return to the Bluetooth menu on your Android device.
- The Android device should then look for Bluetooth devices.
- Tap on “AirPods Pro” in From The Available Devices List.
- Click on ‘AirPods Pro’ to connect.
- Wait till the pairing is confirmed.
How to Connect AirPods Pro 3rd Generation to iPhone
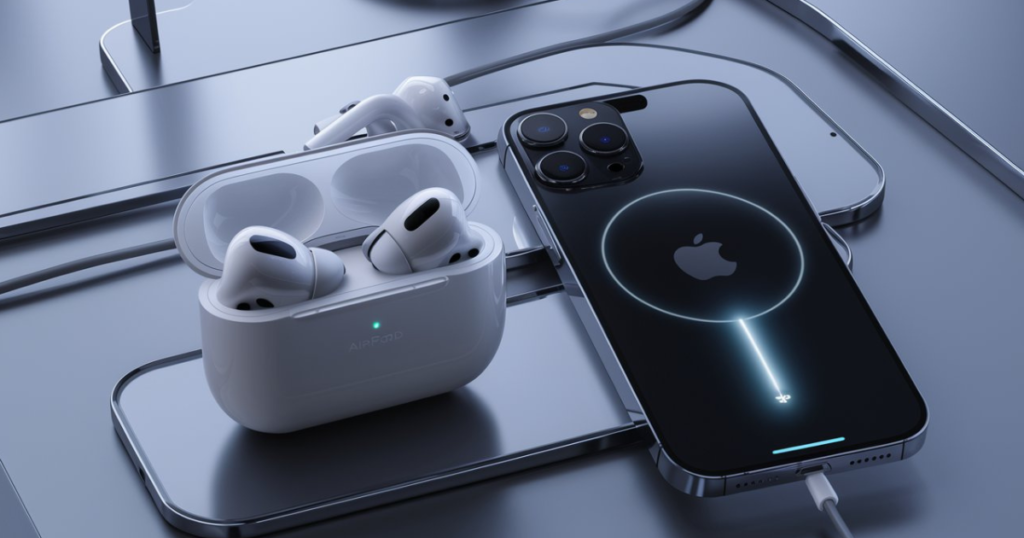
The process is a simple one for iPhone users to connect to the next or third-generation Apple AirPods Pro. Here are the steps you should take to maintain good connections :
Ensure Bluetooth is On:
- Launch Settings on the iPhone.
- Navigate to Bluetooth.
- Activate the Bluetooth toggle.
Prepare AirPods Pro:
- Open the lid of your AirPods Pro in its charging case.
- Make sure that your AirPods are charged and the status light is green or amber.
Initiate Pairing Mode:
- Locate the small white button on the back of your AirPods Pro charging case.
- Hold the setup button until you see a white light. That means the AirPods are ready to pair.
Connect through iPhone:
- Open the case to your AirPods Pro then unlock your iPhone and bring it close to them.
- It will show a progress animation on the iPhone screen.
- After clicking on setting animation connect.
- Simply follow the on-screen instructions to set up.
Verify Connection:
- Once finished, your iPhone should acknowledge that the AirPods Pro are connected.
- By scrolling through the Bluetooth settings, you can see whether it is connected. You should see where it says Connected next to the AirPods Pro.
How to Connect Air Pods Pro 3rd Generation with Laptop
AirPods Pro 3rd Generation connecting to Laptop This guide is here to assist users of Windows or macOS operating systems.
Windows Laptop
Step 1: Enable Bluetooth
- Turn on the laptop.
- Click on the Start Menu.
- Select Settings (gear icon).
- Go to Devices.
- Turn on Bluetooth.
Step 2: Pair AirPods Pro
- Place the AirPods back into their case with the cap open.
- Press and hold the Setup Button on the back of the case until you see a white flashing light.
- Then click Add Bluetooth or other device on the laptop.
- Select Bluetooth in the list.
- Now select the AirPods Pro from your list of available devices.
- Follow additional on-screen instructions and complete the pairing process.
macOS Laptop
Step 1: Turn on Bluetooth
- Then click on the Apple icon in your top left-hand corner.
- Select System Preferences.
- Choose Bluetooth.
- Enable Bluetooth.
Step 2: Connect AirPods Pro
- Open the AirPods Pro case.
- Hold Down the Setup Button until the Light Turns White.
- This is where AirPods Pro should be listed.
- Tap on AirPods Pro under the Other Devices section and hit Connect.
Switching Between Devices
So all you need to do is go into the Bluetooth settings on each device when switching.
- Put an end to the current link from your AirPods Pro.
- Follow the pairing steps on new devices to reconnect.
If you want your AirPods Pro easier to identify when switching between other devices, It might be a good idea for users to name these bunch of cool features.
How to Change AirPods 3rd generation settings
- Connect AirPods: Make sure your phone or tablet is connected to the car. If the case is open, double-check that they are paired and connected to Bluetooth.
Open Settings:
- Launch the Settings app on your iPhone or iPad.
Bluetooth Settings:
- Tap on Bluetooth.
- Find the AirPods in My Devices and tap on the (i) icon next to them.
AirPod Settings:
- The section shows a few settings that can be changed.
Options Available
Name:
- Next, scroll to the bottom of this screen and tap on “AirPods”; you can change what your AirPods are named right there by tapping that name.
Press and Hold AirPods:
- Setup On-Pressing / Holding for AirPods
- You can choose from Noise Control, Siri, or Off. Select accordingly.
Automatic Ear Detection:
- Enable or Disable Automatic Ear Detection This works by pausing audio when an AirPod is removed and then resuming it when it’s placed back in the ear.
Microphone:
- You can also choose to automatically switch AirPods, or specify you’d like the left one’s mic used all the time, and never right.
Spatial Audio:
- Switch the Spatial Audio toggle off or on to listen in 3D (supported Atmos tracks only).
Find My Network:
- Toggle Find My Network to locate your lost or missing AirPods.
How to Turn Up or Down the Volume on AirPods Pro 2nd And 3rd Generation
Easily controlling the volume for your AirPods Pro while they are 2nd gen or 3rd gen is an important part of that audio experience. Wondering what it’s like to change volume right from the AirPods?
Using Touch Control
Being able to adjust the volume without touching your source device is something I love on a pair of headphones and it makes perfect sense as far as simplicity goes. AirPods Pro 2nd & 3rd gen are also capable of this control scheme using touch (not pressing) so for now, that feature stays exactly in place.
Volume Up
- Find the stem of one AirPod.
- Pull up on the extender to raise the volume.
- Live incremental updates for pinpoint control.
Volume Down
- Do the same with each AirPod stem.
- Lower the volume by dragging down onto the stem
- Things are just slightly modified so there is a clear path to get where you want without too much effort.
Using Siri Commands
- You can also use Siri as a hands-free way to raise or lower the volume.
Activate Siri
- Just Say “Hey Siri” or Press and Hold the Stem of Your AirPod Until You Hear The usual Siri Chime.
Siri Commands for Volume
- Telling Assistant “Increase volume” or “Turn up the voice”.
- Or give the command, “Lower volume” or “Turn it down.
- You can also say “Increase volume 20%” or “Lower volume 10%” to fine-tune the response.
Using the Connected Device
To adjust the volume, users can also use their iPhone/iPad/apple watch.
Using an iPhone or iPad
- Access the Control Center.
- You can move the slider to modify the volume.
Using Apple Watch
- Open the ‘Now Playing’ app.
- Use the Digital Crown to adjust the volume.
Using Mac
- Control Click on the Volume icon in the Menu Bar
- Move the slider to the desired volume level.
Tip: You want to see if your AirPods Pro firmware is still updated so that you can use them to their full potential. Applicable for Generation, X & Y
Where to Tap on Airpod Pro 2nd and 3rd Generation?
The force sensor sits on the stem of the AirPods Pro 2nd and is also to be seen in the 3rd generation for simple taps. It is important to use these taps correctly so that you have access to all the features at your disposal.
Single Tap
Quick press on the force sensor to:
- Play/Pause: Play or stop the current media.
- Call Answer: Pick up an incoming call.
- Hang up Call: Disconnect the current call.
Double Tap
Tasks will advance — double-tap the force sensor
- Fast Forward: Move to the next song in a playlist
- Ignore the Call: Hang up on an incoming call when you cannot or do not want to answer.
Triple Tap
Triple-tapping lends itself to different needs:
- Rewind: Previous track/beginning of the current track
Press and Hold
Long press the force sensor for options like:
- Active Noise Cancellation (ANC) + Transparency Mode: Turn on ANC to block noise and use one earbud in transparency mode so you can hear the world around you.
- Activate Siri: You can activate Siri hands-free when you are sending messages, playing music, or getting directions.
How to Turn AirPods Pro 2nd and 3rd Generation
Learn how to power off or save battery on your AirPods Pro 2nd and/or 3rd generation by properly managing the life usage of the battery.
Automatic Power Off
The AirPods Pro go into low-power mode when not in use. They achieve this most notably by:
- Back to the Case: Placing AirPods Pro back in their charging case will also disconnect them from any device and put them into a power-down mode.
- Sleep mode: If the AirPods Pro are left unused outside of their charging case for a while, Sleep Mode kicks in to save battery life.
Manual Methods
Users can also if they wish use these methods at a more manual level.
Disabled Bluetooth on Connected Devices
- Launch the iPhone & iPad (iOS) Settings app.
- Navigate to Bluetooth.
- Toggle the switch to Off.
- If you are using an Android, use the settings menu to turn off Bluetooth.
Control Center Disconnect
- Swipe down from the upper-right-hand corner of your screen to open Control Center on an iOS.
- Expand the Bluetooth menu by long pressing on the Bluetooth icon
- Manual AirPods Pro disconnection
Low Power Mode
AirPods Pro sensors save battery life for you automatically, including:
- In-ear Detection: Sensors are used to check whether the AirPods Pro is in an ear or not, which enables them to move into a low-power state.
- Auto Ear Detection: Automatically pauses audio when one or both AirPods are removed from your ears and plays again once they’re put back in.
Conclusion
To get the most out of your AirPods Pro, it’s worth diving deeper into all the features and customizations these earbuds offer.
Key Tips for Optimal Use:
- Regular firmware updates: Keep your AirPods Pro running with the latest features and quality improvements.
- Fit and Comfort: Use in-box ear tips to find the most comfortable fit which is also an absolute necessity for good audio.
- Noise Control Features: Get to know ANC and Transparency modes for different situations
- Turn on Siri Access: Set up for hands-free use of Siri, responding quickly to any reminders without pulling out your device.
Maintenance and Care:
- Cleaning Fit: It is also important not to leave dust or grime on the outside or inside of the AirPods Pro and/or its case since the dust can substantially affect the quality of the sound.
- Battery Management: This way you get to protect the AirPods Pro from wear and tear of them being in frequent use as well as charge them so that they do not die on you. Hazards such as extremely hot temperatures with their consequences on the populations and constructions in the affected regions were prevented.
Using Extra Features
- Spatial Audio: Turn on Spatial Audio for an immersive 3D sound experience with content that supports it.
- Audio Sharing: Pair two sets of AirPods or Beats headphones to one iPhone for a shared listening experience.
- Announce Messages with Siri: Get your incoming texts announced through Siri, which makes it simple when you are on the move.
These are great terms but too generic, Describe the Problem of Connectivity, Dial-up connectivity meta-question.
- Handsfree Apple Device Switching: Pair up multiple Apple devices signed into the same iCloud account – if you jump from your iPhone to MacBook, AirPods will switch automatically so as not to break a stream.
Experience Improved Listening Experiences:
- Listen to Health: monitor and protect sound levels in DB audio exposure for up to an hour of listening (configurable) with new Listening features from the health app.
- Personalized Audio: Automatically tune music to the unique shape of your ear for a rich, consistent listening experience.
By doing this, you can make sure that your AirPods Pro is set up correctly and provides the best possible sound quality, functionality, and convenience.